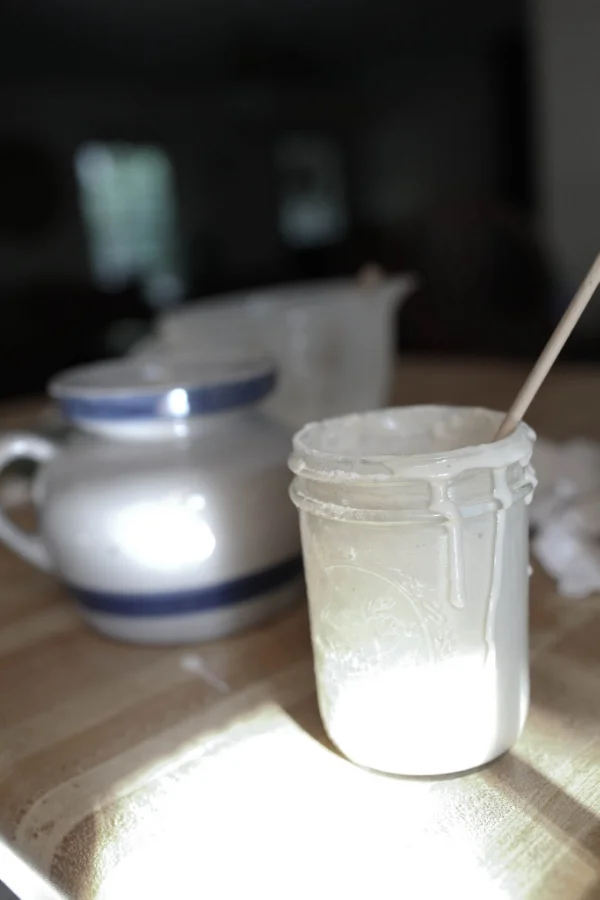
If you’re wary about jumping on the bread starter train make sure you read this first, the reasons why I’ve chosen this extra task. It may help you decide not to continue or you may want to get started today. Do note, you don’t have to make a starter from your kitchen’s yeast. I prefer to do it because a. it’s virtually free yeast and b. I believe that the yeast in your environment will do better than yeast from another source. You can always buy a kit, if you do I suggest purchasing it from here or here.
This southern girl is pretty healthy but I like to feed my loved ones biscuits, pancakes, and warm white hamburger buns throughout the month. I adore the diversity of bread starter as you can start with any flour and then use the flour of choice when baking. Many fermenters prefer rye, but I am a King Arthur white flour gal all day every day.
I worked on this recipe throughout the summer of 2014. I wanted to figure out how to make a starter with a small amount of flour, and without having to buy a starter kit. What I found is that you can even forgo the grapes or pineapple juice. I think fruit allows the process to get going more quickly, but it’s possible to catch the yeasts that live in your kitchen with only flour and filtered water. Grapes and Pineapple juice have worked well for me in the past. I have yet to have a fallen starter with either method.
To make sourdough starter you will need:
2 pound bag of flour
2 gallons of spring or filtered water (you won’t use all of this flour and water at once, but you’ll need it on hand)
Wooden spoon
Large mason jar, crock, etc.
Optional unwashed organic grapes or pineapple juice (no sugar added)
Cheesecloth or a linen napkin
String or a rubberband
day one
1/3 cup flour
1/4 cup spring/filtered water
three or four unwashed organic grapes optional
Mix flour, water and grapes together, stir well. Cover with breathable fabric secured tightly in place.
day two
1/3 cup flour
1/4 cup spring/filtered water
Mix flour and water with starter, stir well. Cover with breathable fabric secured tightly in place.
day three
1/3 cup flour
1/4 cup spring/filtered water
Remove grapes. Mix flour and water with starter, stir well. Cover with breathable fabric secured tightly in place.
day four
1/2 cup flour
1/3 cup spring/filtered water
Mix flour and water with starter, stir well. Cover with breathable fabric secured tightly in place.
You should have a bubbly starter by now if you have loved this concoction each day. If you can give the starter an extra stir each day, even better!
Important notes and upkeep:
Some starter experts say you have to discard starter while building it, I’ve found otherwise. You can if you’d like each day- about a half a cup. I think that’s wasting good flour and would put it to the side for two jars, You can save two cups and make pancakes with it once it gets bubbly. Your kitchen will look like a science experiment. I’ll share that pancake recipe next to help keep your counters clean. If I feel the need to discard (like it’s way too bubbly, which isn’t a bad thing- that means its ready!) I also like to stick some aside for a friend and feed it too, until you can get it to them. You may also give the starter a good feed, cover with a mason jar lid and refrigerate for up to two weeks. Then pull it out and feed it, stick it on the counter to warm up and cook with. I keep my starter in plain view and feed it every day, and sometimes every other day because I use it a lot. Some days you can just get away with giving her a good stir. If you plan on storing the starter in the refrigerator you need to feed it and bring it to room temperature before you use it for a recipe. Otherwise your product will be flat and lifeless because the yeast is more or less sleeping.
Once you have a bubbly happy starter feed it most days if you leave yours at room temperature. I stir in about 1/3 cup flour in the starter 5 or 6 out of 7 days a week. Then I stir and add a little filter or spring water until it’s a nice consistency, not water/not thick. I really believe there isn’t as much science or fuss to it as many starter lovers will have you believe. If we’re going out of town or I know we will be busy I feed and refrigerate.
Sometimes starter will form a thick shield on the top, it can easily be pulled off the top and discarded. If there is a layer of water pour the water off and feed really well, lots of stirring!
Only use non-reactive container and utensils. I only use glass and wood during all steps of bread making.
I believe that the use of non chlorinated water is very important. Chlorine can kill your yeast. However, I have friends who do not use spring water and their starter has not died.
Be patient with your starter, due to your home’s condition you may not have any activity the first week. Keep feeding it and the bubbles will come. Make sure your home is at least 68 degrees, preferably 70.
When cooking with your starter plan on having enough left over after adding it to the recipe to feed and build again. I like to make sure I have about a half cup before feeding it again, immediately.
Update: My sourdough biscuit recipe can be found here, for the pancake recipe click here, muffins here, and chocolate sourdough cake here.

